Marble fireplace walls: focal point, veining and cutting plan

The first decision in designing a marble fireplace wall is how the fireplace opening will relate to the stone's vein composition. A bookmatch, continuous veining or a calmer slab can each create a different focus. After the visual composition, the materials around the appliance and the installation details must be confirmed technically and separately.
Do not confuse the centre of the room with the centre of the wall
The seating facing the fireplace, the angle from the entrance and the shelves beside it all affect how the room is perceived. Placing the marble pattern simply at the geometric centre of the wall does not always give a balanced result. Assess the furnished plan and the wall elevation together. If a television will also be used, think about the screen's place in the composition both when it is off and when it is on.
Place the opening on the real slab
The fireplace opening can remove an important vein. Show the opening, the joints and the upper limit on the real photograph of the chosen slab. If a bookmatch is planned, see how the axis of symmetry relates to the appliance. Veins running towards the fireplace opening and veins opening out to the sides produce different visual effects. Explain which effect you want with an approval drawing, not just in words.
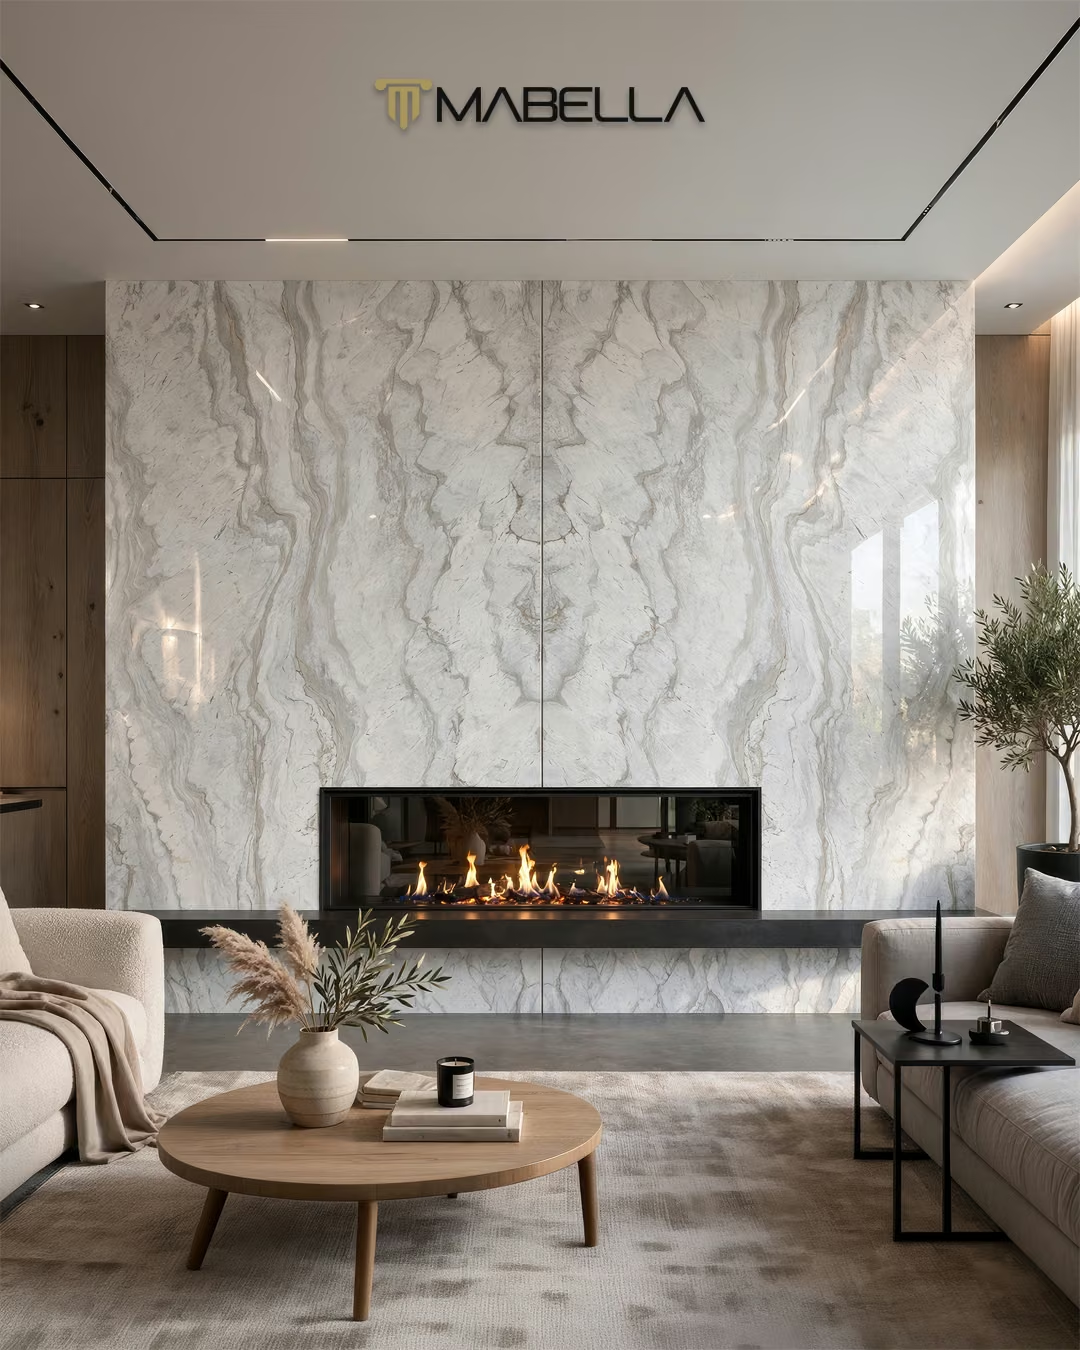
Do not take the heat detail from a decorating image
The type of appliance, the clearances around it, ventilation and the cladding system to be used must be resolved together with the manufacturer's installation information. Marble appearing close to a fire in an image does not prove that the same detail is safe or approved. The support, fixings and other materials behind the stone are as much part of the system as the stone itself. This guide does not give fireplace installation instructions; it describes design coordination.
Include joints and edges in the composition
If one slab cannot cover the height of the wall, decide early where the horizontal joint will be. Niches, shelves and side returns should be drawn on the piece plan. Rather than leaving joints as lines that are noticed afterwards, assess how they relate to the calm areas of the pattern. Do not ignore the installation details that are needed just for the sake of visual unity.
Approve stone, furniture and light together
Dark shelving can make a pale stone look stronger; warm light can change how the white tone is perceived. See a sample of the chosen stone together with the adjacent materials. Check, too, which lights will be reflected in a glossy surface. In living rooms used mostly at night especially, deciding from a daytime photograph alone may fall short.
Send Mabella a dimensioned elevation of the fireplace wall, the appliance information and the vein effect you prefer. The material choice should be confirmed on the real slab, and the suitability of the appliance and the cladding system by the relevant specialists, each separately.
Frequently asked questions
Is a bookmatch essential on a fireplace wall?
No. Continuous veining or a calm slab can also be chosen; the choice depends on the composition of the room.
Can a fireplace detail from an image be built exactly as shown?
It should not be built until the appliance manufacturer's instructions and the project's system have been checked.